
Getting Started
- Installing the App
- Permissions the App Requests
- The Onboarding Checklist
- The Dashboard
- A Typical First Setup
Installing the App
- Open the Shoppable Image Product Pins listing on the Shopify App Store.
- Click Install.
- Review the permissions and click Install app.
The app opens directly to the Dashboard, and you start on the Free plan — no payment details required.
Permissions the App Requests
| Permission | Why it is needed |
|---|---|
read_products |
Search your catalogue in the hotspot editor and read product titles, images, and prices |
write_products |
Required alongside product read access by Shopify’s product scope pairing |
read_files |
List the images already in your Shopify Content → Files library so you can pick one |
write_files |
Upload a new image from your computer into your Files library |
read_themes |
Detect whether the app blocks have been added to your published theme, so the Dashboard can show you the correct next step |
The app does not request access to customers, orders, or checkout. It never reads or stores customer personal data — see the Privacy Policy.
The Onboarding Checklist
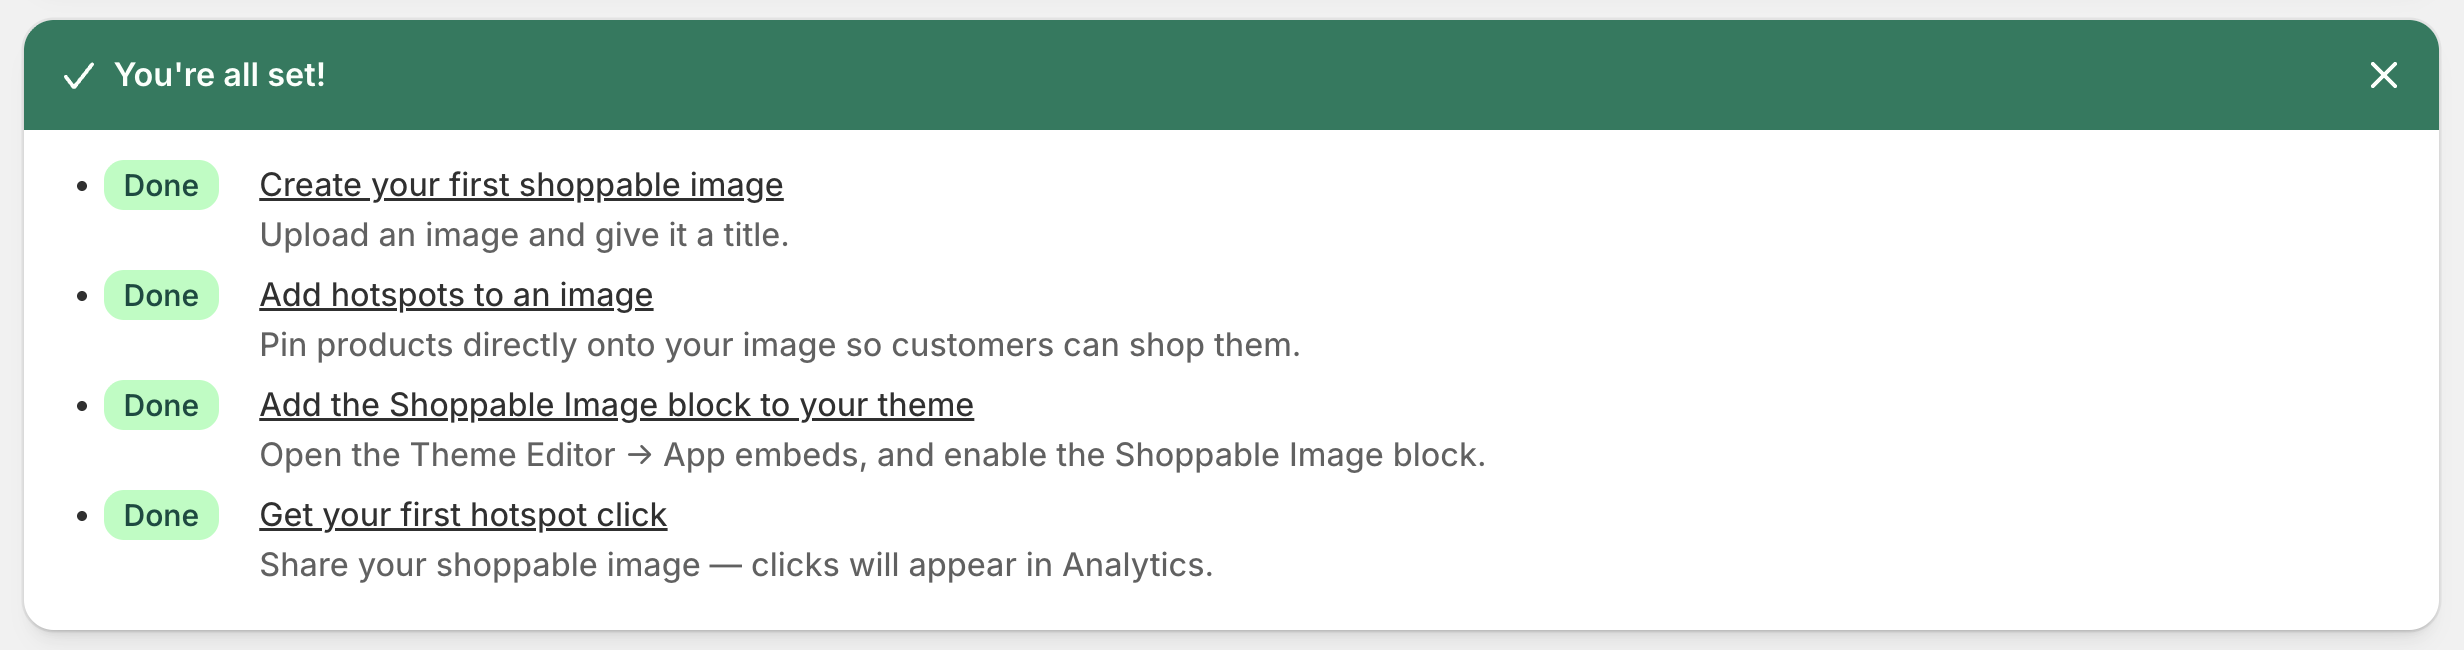
The Dashboard shows a four-step checklist. Each step ticks itself off as you complete it.
Step 1 — Create a shoppable image
Upload a new image or pick one that is already in your Shopify Files library. See Images.
Step 2 — Add hotspots
Open the image and click anywhere on it to drop a pin, then attach a product. See Hotspots.
Step 3 — Add the block to your theme
Open the Theme Editor and add the Shoppable Image app block to a page, then paste in the image ID. See Theme Blocks.
Step 4 — Check your analytics
Once shoppers start tapping pins, the Analytics page fills in. See Analytics.
The Dashboard
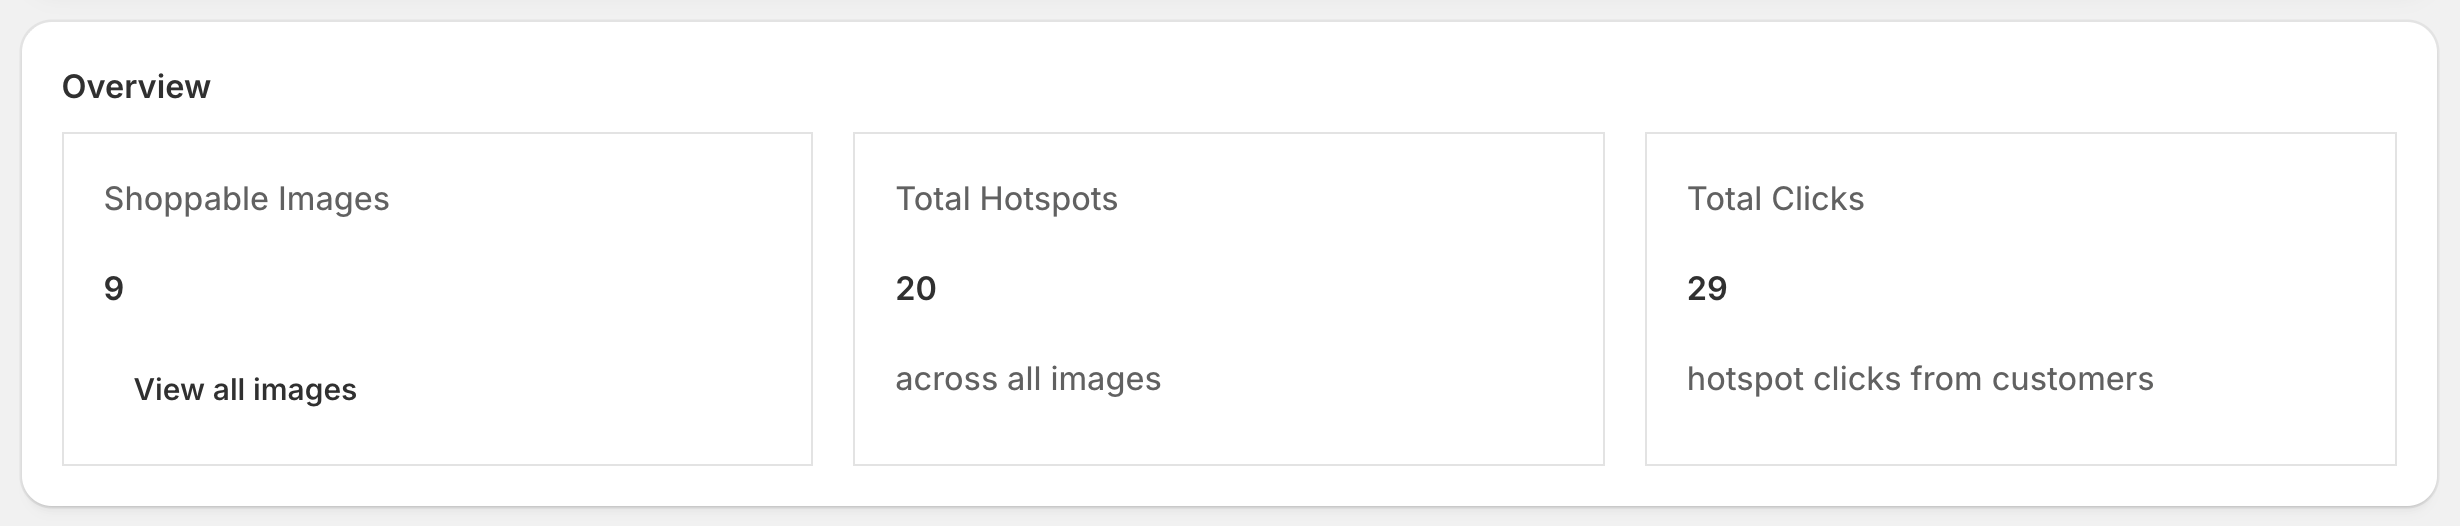
The Dashboard is the app’s home screen. It shows:
Stats
| Tile | What it counts |
|---|---|
| Shoppable Images | Every image you have created, including hidden and locked ones |
| Total Hotspots | Every pin across every image |
| Total Clicks | Every recorded hotspot open, all time |
Theme block status
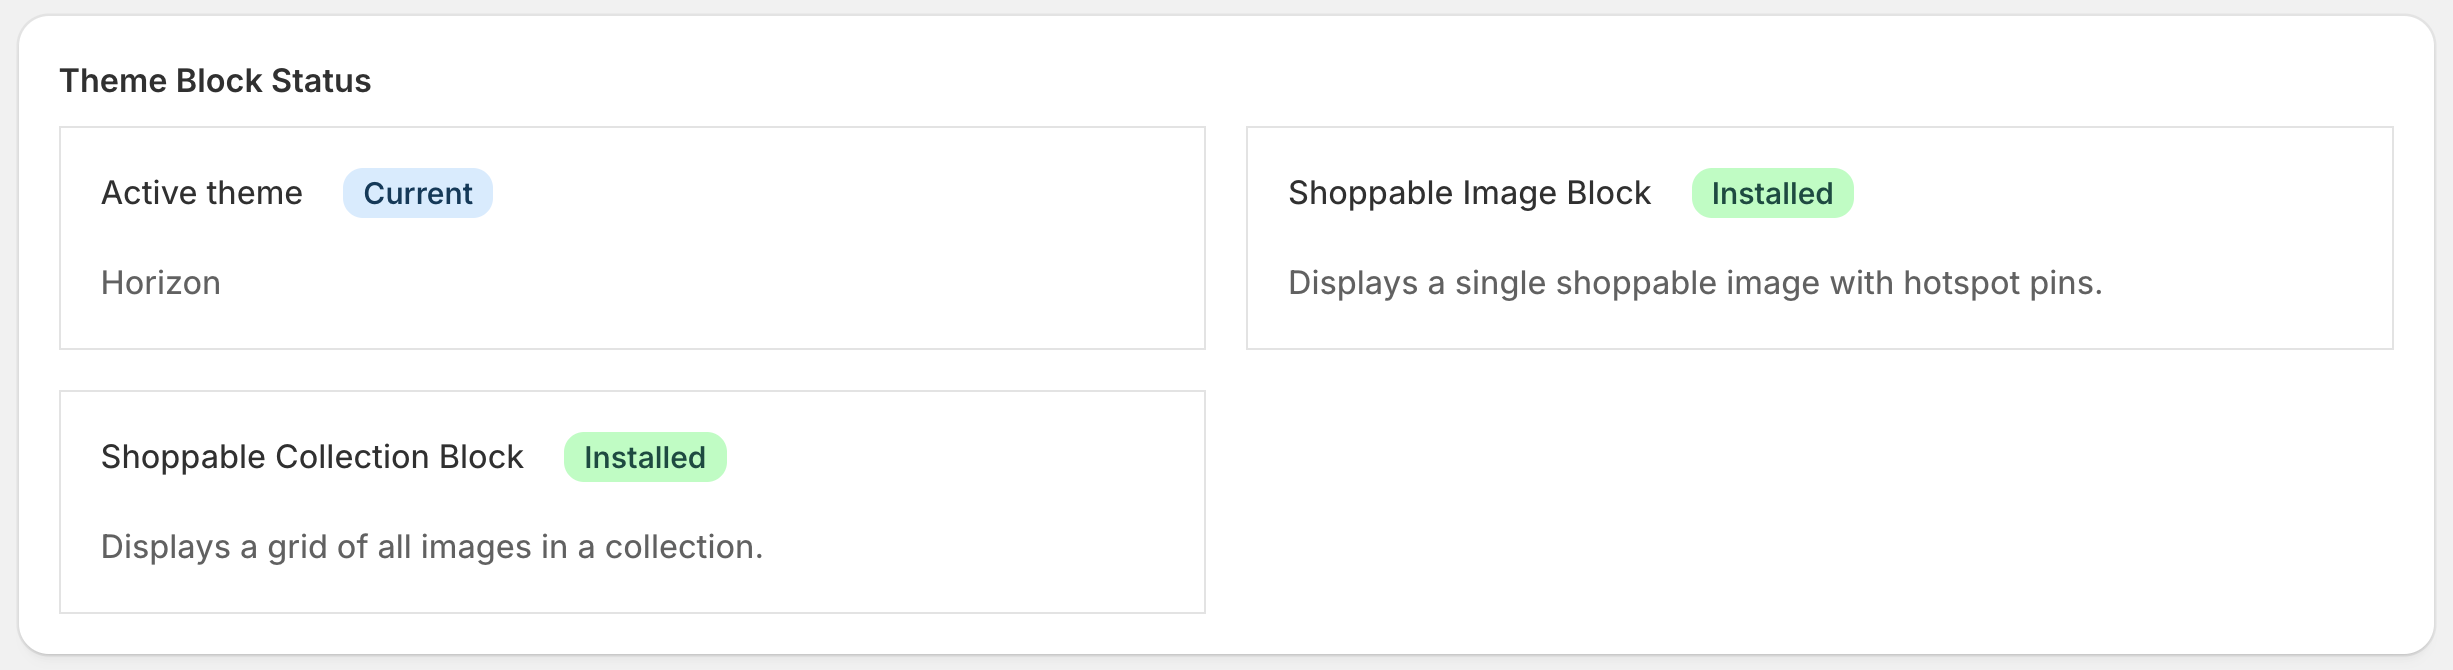
The Dashboard checks your published (main) theme and tells you whether the Shoppable Image and Shoppable Collection blocks have been added. If a block is missing, you get a button that deep-links you straight into the Theme Editor with the block ready to insert.
Note: The theme check only inspects your home page template (
templates/index.json). If you added the block to a different page — a product page, a custom landing page, a lookbook page — the Dashboard will still report the block as “not added”. That is only a detection limitation; your block works perfectly well wherever you put it. See Theme Blocks.
Plan banners
If you are on the Free plan you will see one of two banners:
- “Free plan: N of 3 images used” — informational, while you still have room.
- “Free plan limit reached (3 images)” — you have hit the cap. Any images beyond the 3 most recent are locked. See Billing & Plans.


A Typical First Setup
A complete first run takes about five minutes:
- Images → Create image. Give it a title such as “Spring lookbook — hero” and pick the photo.
- On the editor screen, click the photo where the first product appears. Search for that product, pick it, and save.
- Repeat for every product visible in the photo. There is no limit on hotspots.
- Copy the image ID shown on the image list.
- Open Online Store → Themes → Customize, add the Shoppable Image block where you want it, and paste the image ID into the block’s Image ID setting.
- Save the theme and view the page on your storefront.